Running
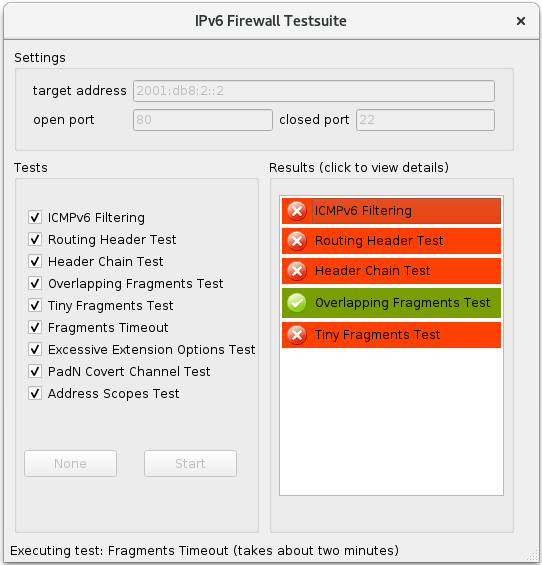
- Fill in the correct information. On our network, the server is listening to 2001:db8:2::2, so we enter that into the target address field.
- Enter the ports that ft6 should use. All communication will use the open port. When testing fragmenting attacks ft6 tries to connect to a port that’s not permitted by the firewall. Enter anything you think your firewall blocks into the field called closed port.
- Select what tests to run by ticking or unticking the checkboxes, then press Start. You are now testing your firewall. Running all tests should take less than 5 minutes. Some tests take longer than others, give them some time. Watch the statusbar at the bottom of the interface and don’t surrender early.

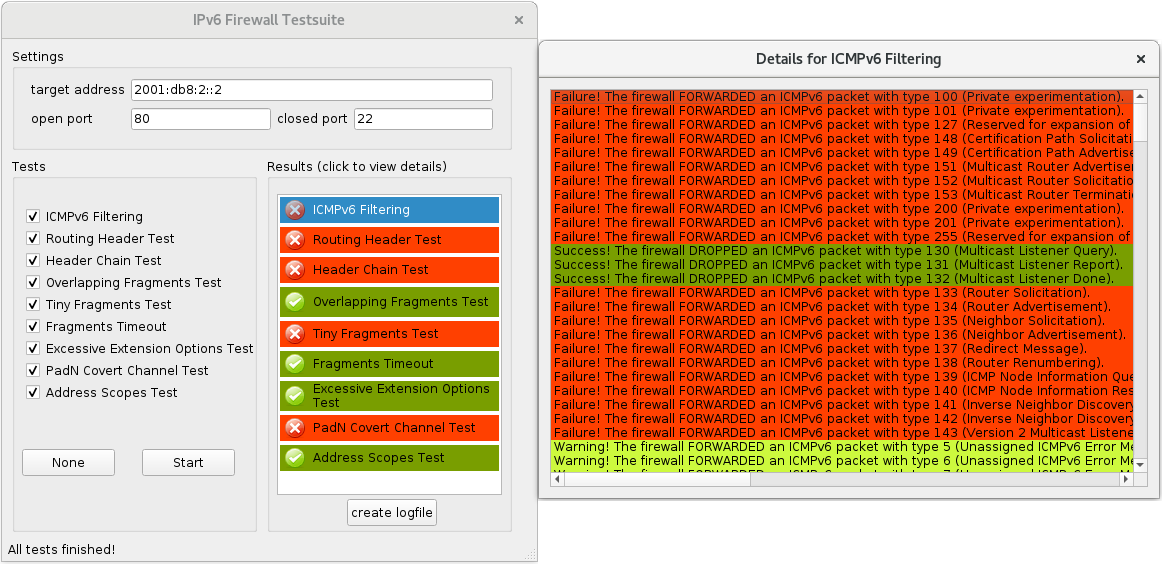
- The Results box will become populated with results that are already finished. They are color-coded so you can easily see where your firewall is having trouble. You can click the items in the box to show details.

- You see an entry for each network packet ft6 sent. Each item shows you two things:
- It tells you what action the firewall performed, i.e. whether the firewall dropped the packet or forwarded it. It says so in the description text.
- It tells you whether that action was correct or incorrect. This is reflected by the coloring of the item.
As you might imagine, green stands for “correct”, red stands for “incorrect” and yellow stands for “technically correct, but pretty strange, did you really want your firewall to behave that way?”
- Once all tests have completed you can click create logfile, which will write the result of every test into a textfile in ft6’s working directory, named ft6-report-<currentDateAndTime>.txt. That concludes your firewall test session.
Continue Reading at Understanding the Tests or go back to the table of contents.